
With Gen Alpha now in classrooms and AI-enhanced tools becoming prevalent, its time to refresh how we create and deliver animated educational content.
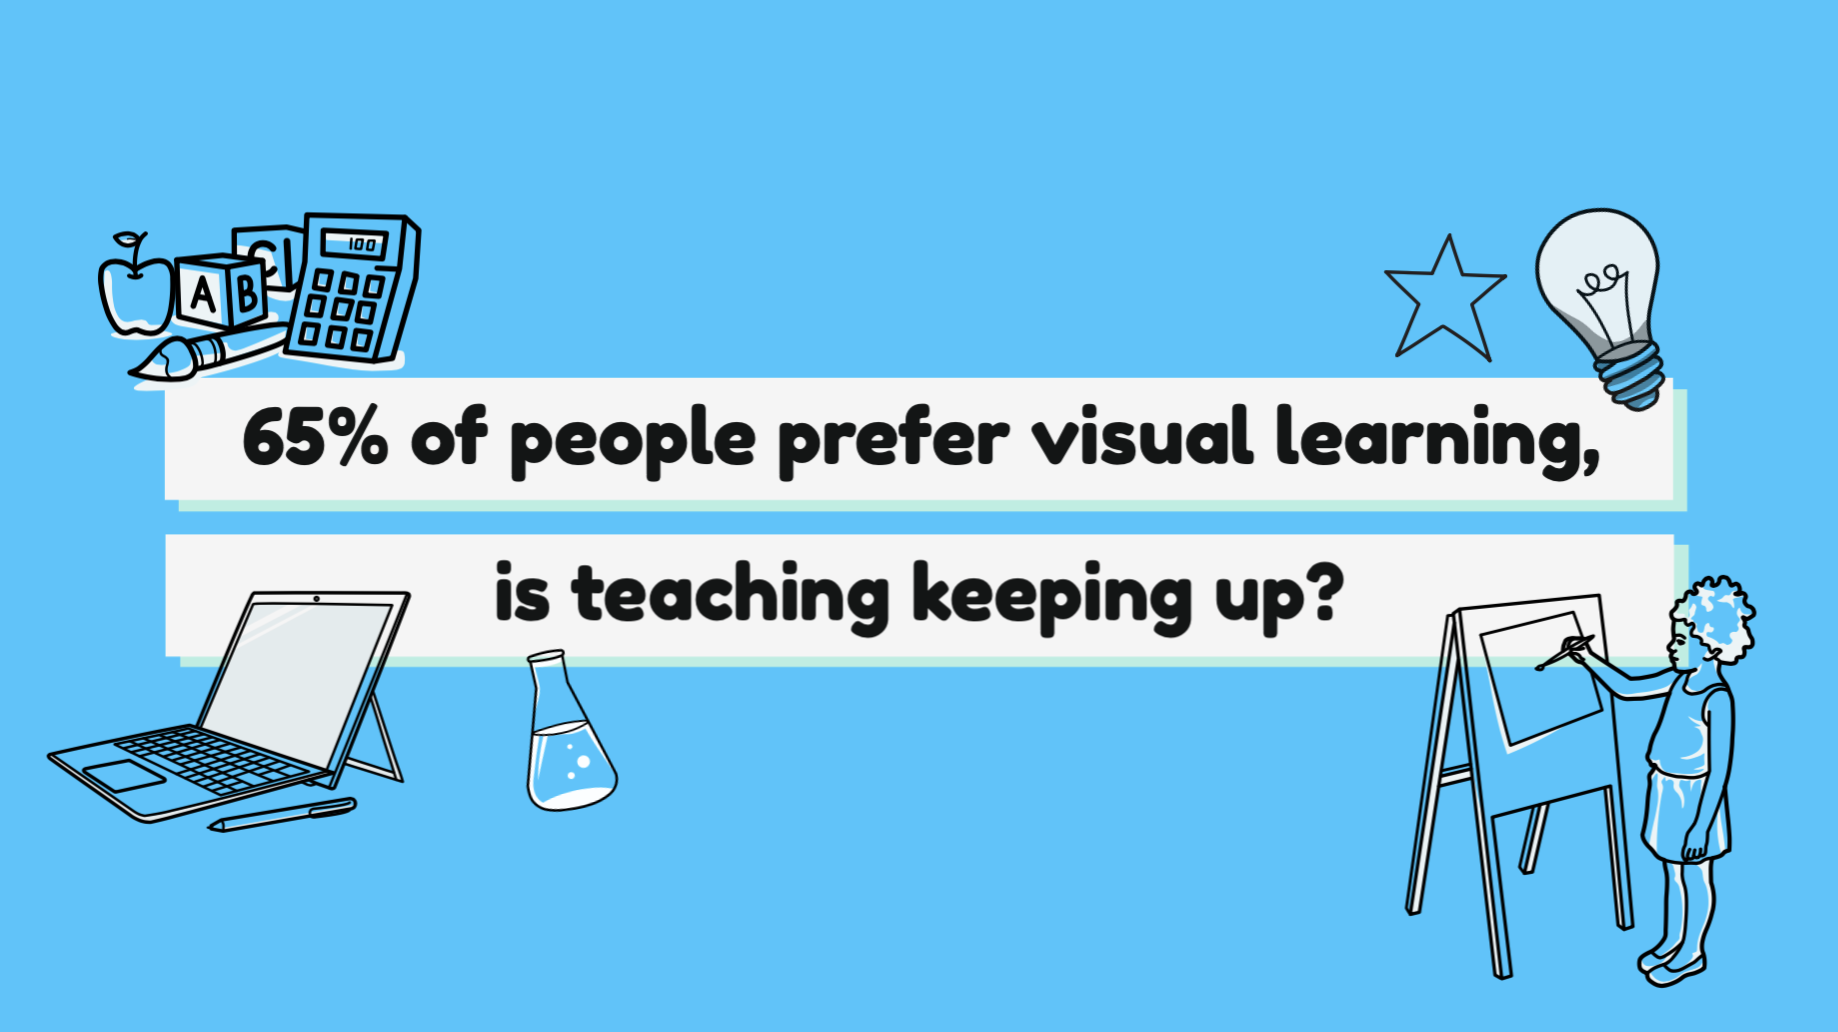
Pupil attention spans have dropped since Covid and the younger generations now struggle to focus on one thing for more than 10 minutes, which makes capturing and holding their attention hard. So, how do you keep students engaged? With video! Animations are absorbed 60,000x faster than text, and they improve the amount of knowledge your audience retains by 15%.
In this guide, you'll discover the latest strategies, tools, and best practices to craft engaging videos that meet the needs of today's learners.
1. What today’s students are looking for
2. Why animation is such an effective teaching tool - the research
3. How video benefits educators
4. 4 effective ways to use animated video for teaching
5. How to create your own educational animated videos
6. Video tips and tricks from educators
What today's students are looking for
From elementary school to college, today’s students are part of a new generation with life experiences and expectations that set them apart from those before. While this does mean students aren’t as receptive to traditional teaching methods, there’s lots of opportunities to explore new digital teaching tools.
They’re true digital natives
While millennials were introduced to technology relatively early on in their lives, Gen Z and Alpha don’t know life without it. Since social media, Google and now ChatGPT have been at their fingertips, students are used to instant information and teaching themselves anything they want to know with YouTube.
With that in mind, students often expect instant results from teachers and find it much easier to learn from video than they do books. While this shift might take a bit of adjustment, it’s a great opportunity for teachers and students to develop their video skills.
They value flexibility and control over their learning
The boundaries between the classroom and life outside are blurring, so much so that the younger generations expect a similar level of control and freedom in education as they have at home. This doesn’t mean teachers’ influence is diminished, it’s just about meeting different learning styles and offering students the chance to learn however and wherever they want.
Blended learning is a great way to start breaking down the ‘one-size-fits-all’ model by combining in-class and out-of-class learning to suit more students and help them feel empowered.
Attention spans are shorter
Generation Z and Alpha are so accustomed to multitasking and taking in short bursts of information on social media, focusing on longer pieces of information can be a challenge. According to Darla Rothman, pupil attention spans are only 7-10 minutes long which can make it tricky to keep students engaged for a full hour lesson. To work around this, use short interactive activities and videos to break lessons down into smaller chunks, focusing on different skills to keep students engaged.
While these traits do create new challenges for teachers, there’s a key theme running through each of them: video. Video and animations can support the changing needs of modern students, helping them feel empowered and motivated. But don’t just take our word for it, let’s look at the research.
Why animation is such an effective teaching tool - the research
The truth is, there’s so much research that confirms the power of animation for education, we could never cover it all. But there are a couple of key studies that stand out to us and prove just how effective animations are for learning.
Educational psychologist Richard Lowe found that animations help both children and adults learn and remember information because of two factors: 1) How they affect us. 2) How they help us process things.
Animations affect us in four key ways:
- They tap into our instinct to pay attention to moving things. Evolution taught us to track moving animals and scenes for our survival and those instincts are hard to shake even now without sabre tooth tigers!
- They appeal to two of our strongest memory sensors - vision and sound. Our experience of the world is perceived 83% with sight and 11% with hearing, making up 94%, with smell, touch and taste way behind with just 6%.
- The novelty factor intrigues us and holds our attention.
- They’re fun and can include humor that lifts our mood and makes us more attentive.
Animations help us process information because:
- We store words and images in different parts of our memory, meaning we have multiple copies of the information to call on.
- Visual cues in animations can help learners focus on specific pieces of information more easily.
- We can process visual information over 60,000 times faster than text and infer a lot more meaning. Just think, one minute of video is equivalent to 1.8 million words! Making animations very effective at explaining complex topics in a short amount of time.
Dr. Wiseman recorded a video of himself talking about a topic and then created an animated version of the same information. He invited two groups of people to watch one video or the other and tested how much of the content each group remembered. The results were incredible! Participants who watched the animation remembered 15% more of the information than those who watched the talking head version.

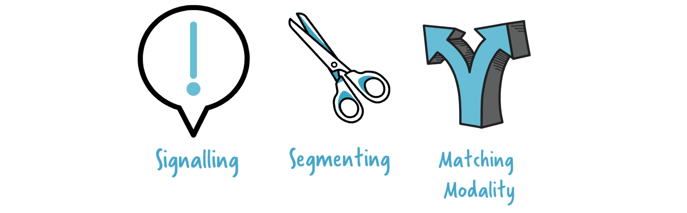
Alongside Lowe’s findings, another explanation for these results is that animations make it easy to meet the three best practice criteria for designing and creating successful learning videos:
Signalling: on-screen imagery and graphics that direct the learner’s attention and highlight the specific information that needs to be processed.
Segmenting: dividing information into bite-size chunks in the video which makes it easier for learners to digest.
Matching modality: using images, text and audio to target multiple information reception channels simultaneously. This reduces overload for any one channel and increases overall retention.
 As you can see, there’s an enormous array of reasons why animations are so effective for learning and the results speak for themselves. Plus, it’s not just learners who benefit from animated content, in addition to improved class results, there’s a whole heap of added bonuses for educators - let’s take a look!
How video benefits educators
Some of the main advantages of video for teachers are:
More engaged class
There’s no better feeling than seeing your students enjoying your lessons and actively participating and that’s the power video has. When you’re introducing new fun elements into class like animations, they make teaching easier and more enjoyable. Gen Z and Alpha respond best to visual, story-driven learning. Animations turns abstract concepts into clear, memorable visuals.
Save time creating lesson resources

One of the best things about animation is it’s versatility. Where you might normally create lots of different worksheets, PowerPoints or documents to suit different learning styles, video can support all types of learners in one. Plus, once you’ve created a video, it’s super easy to switch out text or add extra sections to take it to the next level. Without having to start from scratch which saves a lot of time and energy!
The video can be replayed as many times as needed
Lastly, instead of explaining the same principle multiple times, students who want to work through the content multiple times or at a slower pace can rewind, pause and rewatch videos as many times as needed. Freeing more of your time up to support other students with more complex questions or needs.
4 ways to use animated videos for effective teaching
So, we know that educational animations can benefit both students and teachers, but how do you adopt them into your class? It’s no exaggeration to say the options are limitless. The beauty of video is that it’s so flexible and you can create animations of any length, on any topic and to achieve any objective from boosting grades to encouraging class participation.
But to get you started, we’ll be sharing four of our favorite ways to use animated videos in and out of the classroom.
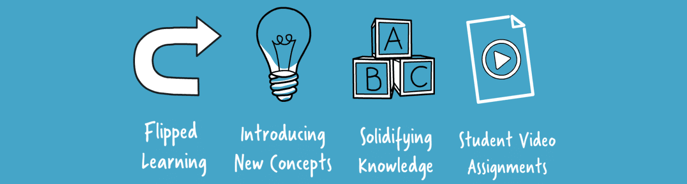
Flipped classroom
Let’s kick things off with a very popular choice, flipped learning. A flipped classroom is a type of blended learning where students are introduced to new content at home and then discuss or work through 4 ways to use animated videos for effective teaching it at school. Teachers recognized that students often have more trouble processing information and completing work than they do when being introduced to a new topic.
With that in mind, flipped classrooms give students more valuable time with teachers to work through obstacles and deepen their understanding of the topic. While new concepts can be introduced at home, often with video.
Some great ways to use videos in flipped learning include:
- Asking students to watch a video at home and then having a discussion about the key concepts in class.
- Sharing a video that explains practical activities or experiments you’ll be doing in the next class so they can prepare.
- Giving students a problem in video form that they need to solve in class to get them thinking about solutions.
Introducing new concepts
Videos are great for easing students into new modules, content or ideas because they allow you to break the information down more. Presenting it in bite-sized chunks that are much easier to absorb since they suit more learning styles from auditory and visual to kinesthetic.
Just remember to keep these animations short and sweet and only focus on the essential information to hold students’ attention.
Solidifying knowledge and revision
Videos are also fantastic tools for recapping learning. They allow you to highlight the essential information that students need to know when heading into exam season or working on projects.
Plus, this style of revision really suits Gen Z since they can be watched wherever and whenever giving students an element of control over the process. They can also be replayed, paused and sped up as much as needed to suit the individual student.
Student assignments
Lastly, don’t forget that your students not only benefit from watching and engaging with video content, but also from creating it. By working through the steps to design and make their own animations they’ll learn key digital skills that are demanded in today’s workplaces.
This added challenge can also make working on assignments more interesting and rewarding for students, offering a creative alternative to written papers.
How to create your own educational animated videos
By now we hope you’re fully convinced of the benefits of animated video and the only question left to answer is “how can I create my own?”. Which is why we’re going to show you how in five easy steps.
Planning
The first step is to really think about what information you want to share and why. Without a clear purpose for your video it’s difficult to say whether it’s been a success or not. Try setting objectives like ‘this video will enable students to accurately explain the process of photosynthesis’.
With that goal in mind, it’s much easier to determine what content has to be in the video and what can be cut. This will leave you with a more streamlined and effective video that delivers on your objectives without losing student attention. This is also the time to decide where and when your video will be used. Will you send it to students to watch at home? Or will you talk through the information as it plays in class? Your answer will determine whether you need to write a script and record a voice-over or not.
To help you stay on track, we recommend writing this information down or using our pre-made video planning template. You can download it for free here.
Scripting
If you plan for this video to be watched outside of class then you’ll probably want to add a voice-over so you can talk students through the information. To record the best voice-over, you need to start with a script.
The easiest way to write your script is to collect together all the information you need to share. Picture each point laid out on a table in front of you. Now imagine drawing a line with your finger to connect each point in the right order. This will give you the skeleton of your script and determine the flow.
From here, it’s all about polishing the details and putting the content in language that’s suitable for your students i.e. without overly complex words, simple sentences and a friendly tone. Don’t forget that the length of your script will also determine the length of your video so cut extra content out to shorten it if needed.
Once you’ve got a full first draft, take the time to read it out loud, ideally to a colleague or student to check for any errors or opportunities for improvement.
Storyboarding
Now’s the fun part - it’s time to get creative. Your vision will start to come to life as you storyboard. Now you might be thinking “hang on, I’m no filmmaker, why do I need a storyboard?”. The answer is that all videos benefit from storyboarding, whether it’s a one minute animation about anatomy or a feature length film.
Storyboarding is the process of planning out each scene in a video. It gives you the time and space to think creatively and spot any potential problems, gaps or opportunities before you invest time making your animation.
Start by deciding on the layout for your video. This will depend on your topic and the message you want to convey but it could be a mind map, process or collage.
Once you’ve got a structure in mind, simply chunk up your script or content into sections and plan out what imagery you’ll need for each. You can use images from the VideoScribe library or your own graphics. Remember, storyboards don’t have to be complex or fancy, you can map your scenes out on a piece of paper, or use our pre-made editable storyboard template.
Record voice-over
If you’re adding voice-over to your video, now’s the time to record it before you start animating. Your voice-over will act as your guide for adding images, text and more to ensure the timing is spot on.
Again, don’t be fooled into thinking you need a professional recording booth to get a great quality voice-over. It’s easy to set up your own little recording space from your home or school with these tips:
- Find a quiet space and reduce background noise by checking any air conditioning units are turned off and open windows are closed.
- Reduce echo in larger spaces by putting soft furnishings like blankets or pillows around your recording area and especially on hard floors.
- Warm up your voice by reading your script a couple of times and sit up straight to improve your breathing and make your voice clearer.
- Smile while you talk to make your voice sound more friendly.
- Use good quality headphones to listen back to your takes and make sure everything sounds okay.
You can learn more about the tips and tools to record a perfect voice-over in our guide, alongside our recording checklist.
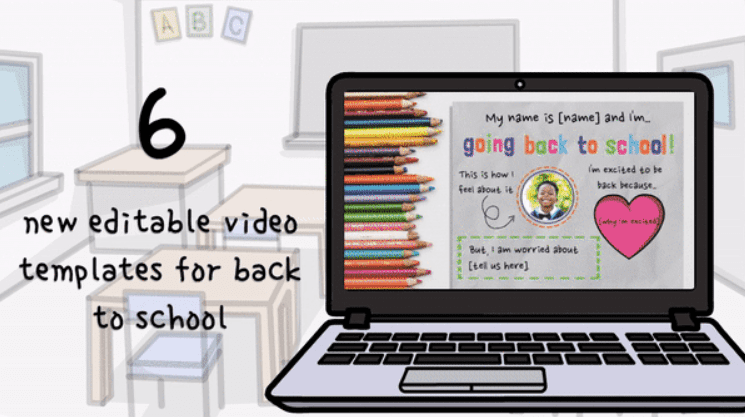
Templates
One of the easiest and quickest ways to create a video is by using one of our animated templates. These are professionally designed videos in a number of different designs and styles to suit your content. We’ve done all the hard work so you don’t have to. Simply edit the details to make them your own!
You can browse our full range of templates here.

Graphs and charts
If your lesson material includes important data or statistics, animated graphs and charts can help to bring them to life. As the graphic builds you can guide your students through the information, ensuring they understand the meaning behind the data, not just the numbers.
This is often referred to as ‘data storytelling’ and it’s a really powerful way to make numerical information more meaningful and memorable. Plus, creating these graphics in VideoScribe couldn’t be easier, learn how here.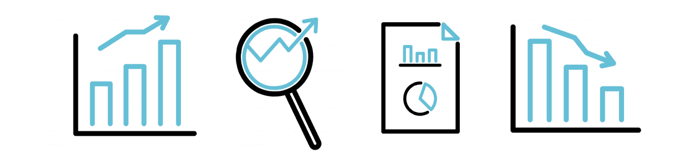
Visual metaphors
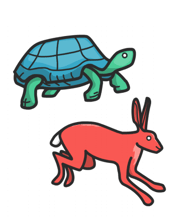
When you’re creating an educational video it can be really tempting to add a lot of text, especially if the topic is complex. But as we know, Gen Z responds best to visuals and excess text is likely to switch them off, not on. But there’s a way to work around this. Visual metaphors are combinations of images that help you explain concepts in terms your students already understand.
For instance if you want to explain that one route is slower but will deliver a better result than another, why not use images of a tortoise and a hare. Most students understand the fable with the message of ‘slow and steady wins the race’ and they can connect this meaning with the information much faster with visuals than text.
The good news is, we have a whole range of concepts and metaphors images to pick from too!
Animation techniques
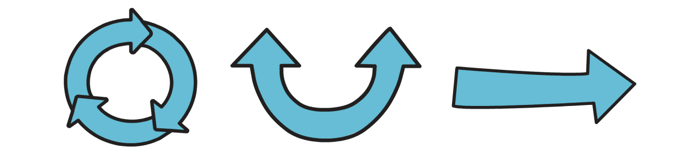
As we mentioned earlier on in this guide, one of the main benefits of animation for education is that you can reinforce your message with visual cues. This could be done with arrows, lines and circles to draw the eye to the key information. But you can also experiment with different animation techniques.
Using the different animation styles in VideoScribe you can highlight key elements or take the viewer on a journey. With these options in your toolkit you can keep students’ attention for longer while reinforcing your message. Learn how to achieve these effects here.
Sharing
Now it’s time for the best part - seeing your students’ reactions! Once your animation is finished, you have lots of sharing options, here are a few of them:
In class - the simplest and easiest option is to hit play on your finished video and either let your voiceover take the stage or talk through your video as it plays.
In email - for remote learners, email is often the best way to share educational content. You can easily share the link to your video, or create a GIF with the title scene to entice your students in. Learn how here.
On LMS - if you share resources and information with students via a learning management system, you’ll often have the option of uploading videos. This is a great place to store your animations if you students will head there if they have questions or want to revisit any of the content.
On YouTube - lastly, sharing your videos on YouTube can be an awesome option. Not only can your students benefit from the information, but by making your animations public, other students around the world have the chance to benefit too.
Just like that you’ve created and shared animated video content that suits multiple learning styles and supports Gen Z students. All while reducing the time it takes you to create new educational resources that can be repurposed multiple times. We’ll call that a win-win!
Video tips and tricks from educators
If you’re looking for extra tips and tricks to create animations your students will love, here are some final words of wisdom from three educators and VideoScribe users.
 “Whilst creating your videos, regularly watch them back to ensure you’re on the right lines. We all lead busy lives. You don’t want to waste time going back on things that could have been rectified much earlier.
Make the animations WORK FOR YOU. If you need to explain a tricky concept then go for it! Don’t try and oversimplify it. Have faith that the combination of your voice and animations will make the concept easier to understand.”
“The best advice I would give for making effective educational videos is that practice makes perfect and to just give it a go. It can be quite daunting and fiddly at first but you get used to it with time.
If there’s a fear of creating voice-overs (I disliked it at first because I don’t like the sound of my own voice), maybe focus on text-only videos with music and then build yourself up to record voice-overs.”
 “My advice is really in the timing of your video. You need to connect what you’re teaching to what kids already know. Then, you have to provide guided explanations, and ‘wait time’. You can’t just throw information out there and expect children (or adults for that matter) to understand.
You have to provide learning opportunities, make connections, and give them a part to play within the experience to engage them within the video and audio being presented to them. They shouldn’t just be ‘watching’ your video, they should be immersed within the educational experience you’re providing for them.”
...and that’s a wrap! To get started creating your own animated videos and put the tips and tricks in this guide to practice, start a free 7-day trial of VideoScribe (no credit card needed). If you like what you see, get your own VideoScribe subscription for less by using our exclusive educator and student discounts.
We hope you found this guide useful and go on to create awesome animated videos to dazzle your students and colleagues!

.png "VideoScribe")

![How to create animation magic [3-part guide to video success]](https://blog.videoscribe.co/hubfs/How%20to%20create%20animation%20magic%20guide%20VideoScribe.png)
.jpg)

COMMENTS