
Want to know our secret for creating animated videos that really stand out? Whether you're a teacher creating videos to capture students' attention or a marketer telling the story of your business, the secret to creating an engaging video is to create a successful plan.
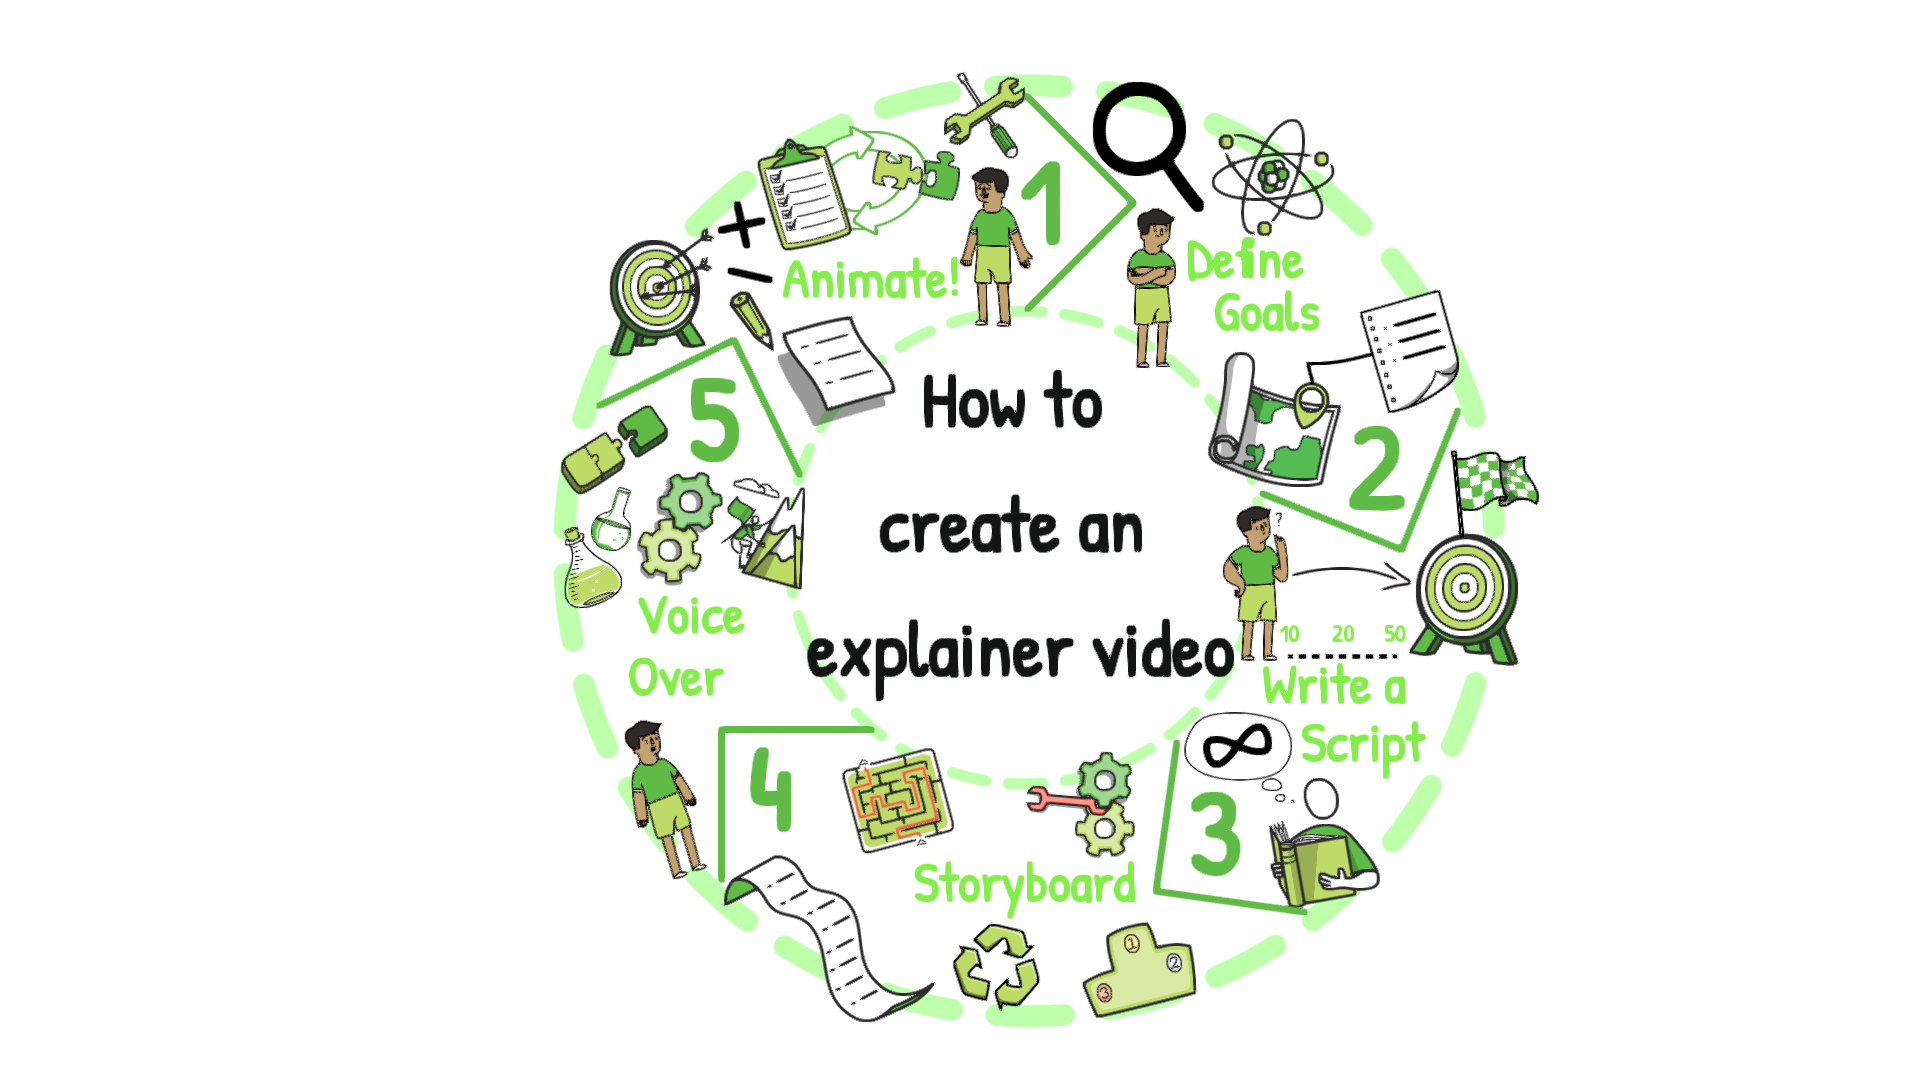
Creating an awesome animated video is easy when planning is involved! In this 3-part guide we’ll be walking you through the simple steps to animation success. From setting your objectives and storyboarding, through to dazzling animation techniques and best practice for sharing your videos.
You can read this from start to finish or hop between sections using our options below.
Part 1: Planning1. Setting objectives and metrics to measure success
2. Crafting your story and structure
3. Building a storyboard
Part 2: Creating
1. Recording your voice-over
2. Getting creative with animation techniques
3. Choosing the right music
Part 3: Sharing
1. VideoScribe download options
2. Best practice for sharing on different channels
3. Repurposing video content
PART 1 - Planning: storytelling and storyboarding for success
So first things first, we need to set out our vision for this animation. Outlining your motivation for creating an animation will help you stay on track and ensure your finished video delivers what you expected.
Setting your objectives and metrics to measure success
That starts with setting out your objectives. Without giving your video a clear purpose, it can be easy to lose sight of why you’re making a video in the first place. Setting objectives and determining how you can measure them right at the beginning helps your video be as clear and concise as possible.
Creating SMART objectives is a great way to do this. Here's how:
- Specific: The more detailed your objective is the better - don't just say you want to create a great animated video that gets watched by a lot of people. Say who you want to watch it, how many of those people and what you want them to do after they've watched it. Don't be afraid to get really granular with it.
- Measurable: To be able to say with certainty that your video has been a success, your objectives have to be measurable. So if you're looking for positive feedback from colleagues or your customers - you could say you want to achieve a certain score on a feedback form afterwards. There are generally always ways to measure different objectives, you just might need to think about them a little differently.
- Achievable: There's no point setting unrealistic goals so really consider whether your objectives are actually attainable.
- Relevant: This step is about ensuring that your goal matters to you and that it also aligns with other relevant goals such as your business or department aims.
- Time-bound: Set a target date so that you have a deadline to focus on and something to work towards.
Telling your story
Now that you’ve set your objectives, it’s time to think about your message. It’s always best to focus on sharing one key message to hook your audience’s interest and not tell them absolutely everything. You can stretch that to three smaller messages but ideally don’t go beyond three ideas in one video.
Then decide how your message will translate into a story. After all, if you want your message to be remembered, turning it into a story is the absolute best way. Stories connect with us emotionally and help us store even the most complex information. So do you need to create characters? They could be you, your colleagues or a target customers. How will your story start and what twists and turns can you add to keep your audience's interest. Then lastly, how will you end with a bang? It could be a cliff-hanger ending, a happily-ever after or a problem solved. Either way, all these questions should be answered with your target audience in mind. Check out our full guide to story plots for more inspiration.
To help you plot your story and start formalizing your ideas, we've also created an editable planning worksheet. This worksheet will help you ensure that your video delivers against your objectives, you’ve outlined your message and structure, and ultimately you haven’t forgotten anything!
To get your worksheet simply click the button below and then save your copy ready to edit 👇

Building a storyboard
The next step in creating a video that really stands out is developing a storyboard, which is a visual representation of how your planned video will unfold. It’s usually a sequence of images or drawings with an accompanying script, text and directions that represent each scene.
One of our favorite parts of creating a video is deciding the video theme! Before you get started on your storyboard, think about what theme you would like your video to have.
- Where will it be set? On a whiteboard, a chalkboard or outside?
- How will your video develop? As a collage of images, as a mind map or as linear scenes?
- What colors will you use? Do they tie back to the emotions you're trying to spark?
- Will you have a voice-over, just on-screen text or both? If so, what font will you use?
- Are you going to use images from our VideoScribe library of over 8000 or will you import your own?
These are all quick questions to answer as you build your storyboard and get a better picture of what your finished video will look like. To help you create your own storyboard easily, we've created a free editable storyboard template. Just click the button to download your copy and get started 👇


PART 2 - Creating: bringing your ideas to life with animation
Now that your planning is complete and you can see the vision for your video in all its glory it's time to make it a reality.
This is probably our favorite part as you can start to see all the elements coming together. Hello satisfaction! 🙌 For this section, we're going to work through the steps in the order that we recommend videos be made in VideoScribe although of course this can be adapted to suit you.
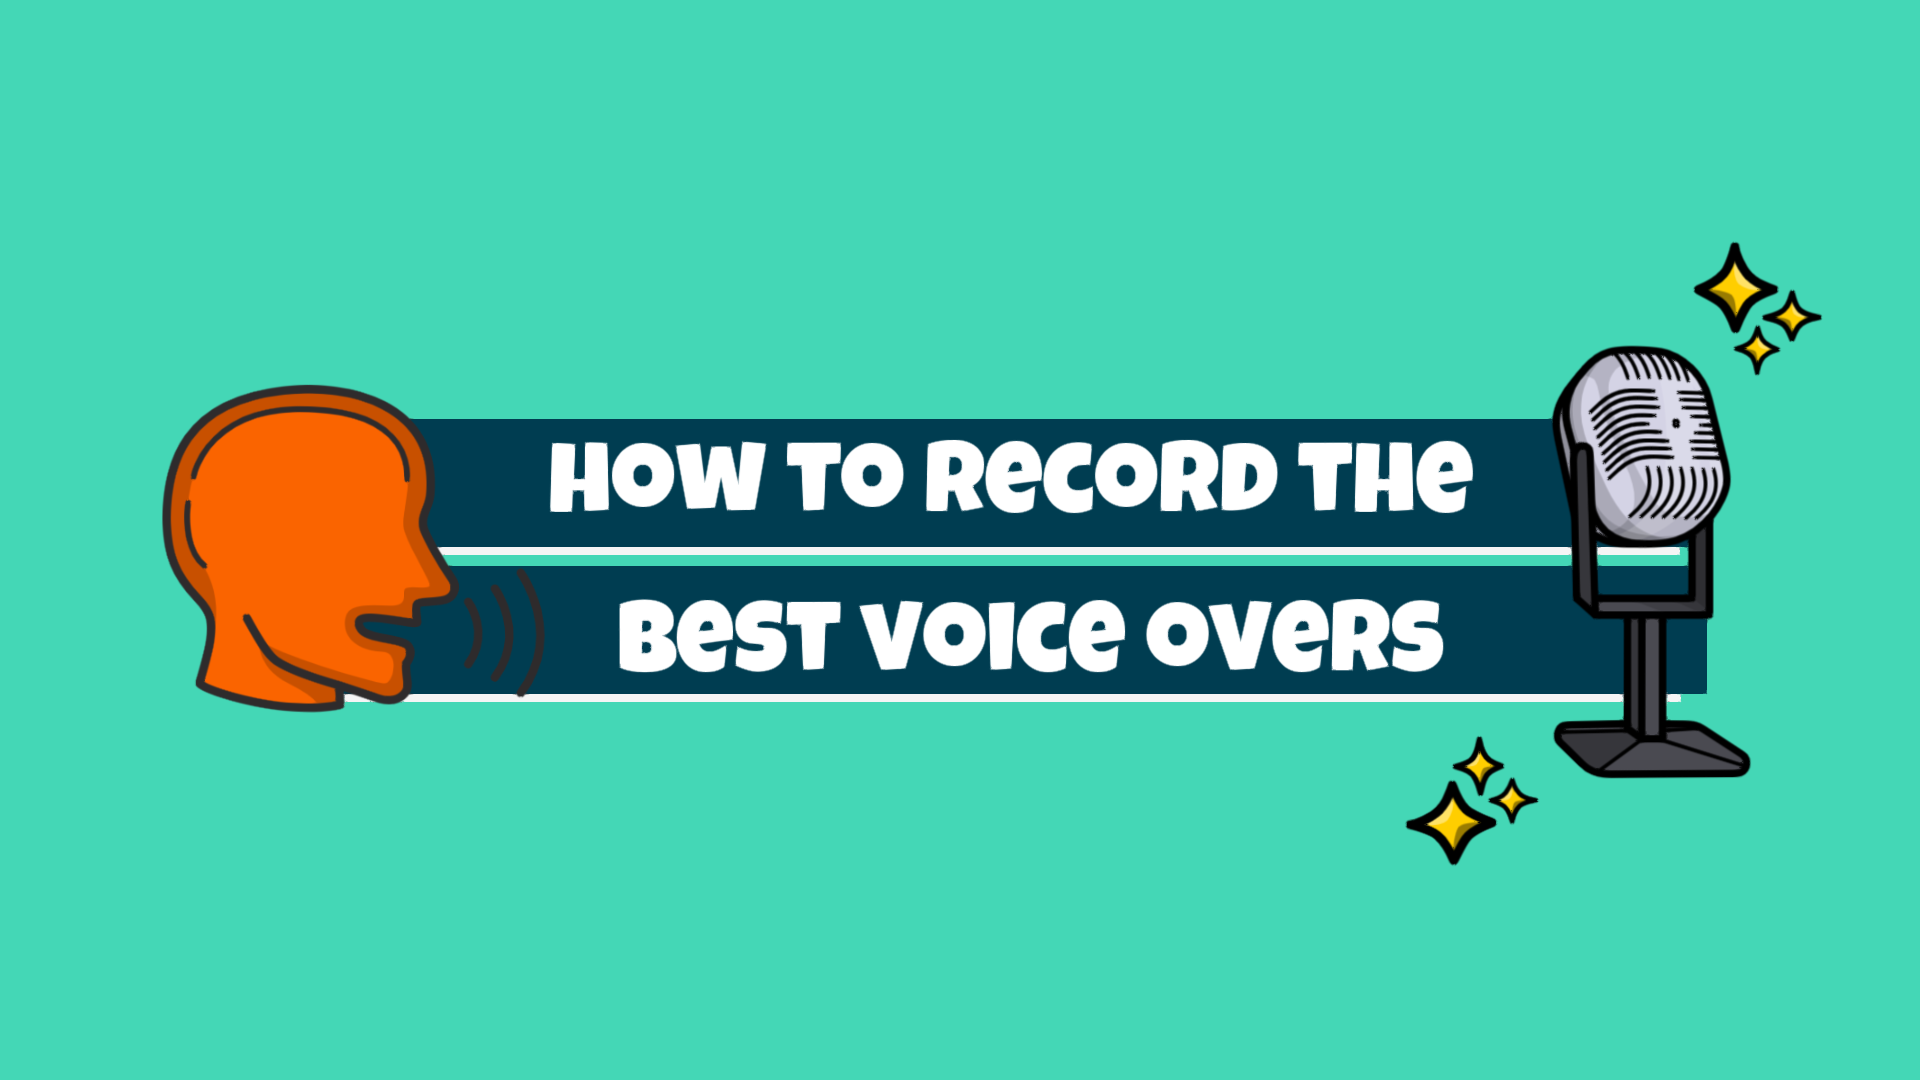
Step 1: Recording your voice-over
We always recommend recording your voice-over first as it can save you a lot of editing time later as you can build your animation around the planned speed of the audio rather than tweaking everything afterwards.
When it comes to recording your voice-over you have lots of options - you can work with a professional voice-over artist if your project is going to be seen by lots of people, you can work with a voice-over agency who'll help you find the right artist and manage the relationship, OR you can record your own voice-over.
The decision will depend on how important your video is, the budget you have set aside for it and how much time you have. For most projects, especially those that are more personal, recording your own voice-over is a great option. But to ensure your voice sounds as professional as possible, there are some steps you can take to prepare your environment, your voice and your recording equipment before you start.
We've detailed these steps in our free perfect voice-over checklist. Just download this interactive PDF and check the boxes before you start recording for the best quality audio 👇

Step 2: Getting creative with animation techniques
Now you've got your base layers set as per your storyboard, it's time to have fun with animation. As you probably already know, all of the images in the VideoScribe library are automatically set to draw by themselves when played. This simple but very effective animation style can work really well for lots of videos.
However, if you want to take it up a gear and create more impressive animations that reinforce your message you can start using animation options like 'Move in', 'Fade in' and 'Morph'. As the names suggest these will allow you to move objects onto your scene and out of your scene in different ways. You can see morph animation in action in our example video below. Morph can help you create the effect of images moving across the screen, growing bigger or smaller, rotating or even changing from one image to another.
To learn how to create these animations and more check out our blog.
Step 3: Choosing the right music
The final step in creating your animation is adding music. Now, this isn't an essential step, especially if you're creating educational content and need your voice-over to be the star of the show. But adding music can bring your whole video to life and help you spark emotion.
To choose the perfect soundtrack for your video consider the pacing, genre and volume of each track. You want music that's going to compliment the feel of your video so if you're creating a calming atmosphere you wouldn't go in with heavy metal. The music filtering options in VideoScribe can help you refine your search to the right tracks for you. Or, check out royalty free music sites and upload your own tracks.
Plus, always ensure your voice-over (if you have one) can still be heard above the music. To do this, use the audio settings in VideoScribe to lower the volume of your background music. You can also do this in free audio editing tools like Audacity if you're using multiple tracks or sound effects.

PART 3 - Sharing: optimizing your video for maximum impact
Behold, your masterpiece! ✨ The last step in your animation journey is ensuring your video gets the attention it deserves. After the work you've put into creating it, it's time to get more eyes on it than just yours. So, how can you get your video in front of your intended audience? This will depend greatly on who your audience is and where you interact with them, but we'll cover some main options in this section.
Choosing the right VideoScribe download option
So, you've finished your VideoScribe video and you're ready to download. You click on the 'Download or Publish' option and you see a number of different options - which to choose?
While there are different benefits to each of them - here's a quick run through of which option you should choose for what type of video 👇
Best practice for sharing your video on:
Once you've got your video file, it's time to share - here are our tips for sharing video content on different platforms and channels 👇
Videos on websites:
Did you know a website with video is 53x more likely to reach the front page of Google!? It's for that reason and lots more that where possible you should include video on your webpages. But for maximum impact, keep these factors in mind:
- Does your video need subtitles? If it's likely to be played without sound then make sure all web visitors can benefit.
- How can you ensure fast loading speeds? Where possible host your video externally to reduce the impact on your page speed. YouTube and Vimeo are great options for this as you can easily embed the video players into most web platforms.
- Make it appealing! Set the best thumbnail you can, especially if your video needs to be clicked to play rather than autoplaying. As this video is likely to be featured on prime real estate on your website it has to attract attention.
- Add a call-to-action. The last thing you want after investing in the creation of your video is for it not to deliver results. So think back to your SMART objectives and add a relevant call-to-action on the end of your video, in the text around it on the page or in a pop-up to ensure viewers take the action you want afterwards.
Videos on Social media:
We're all watching more videos than ever on social media so it's only right you capitalize on that captive audience by sharing your own creations on Facebook, LinkedIn, Twitter, Instagram or even TikTok. Just keep in mind that most social media users browse content with sound off, so you can't rely on voice-overs and audio alone to attract audiences. You need to have striking visuals in the first couple of seconds and captions where necessary.
Plus, formatting your video to be the right size and length for each channel is crucial for a good viewing experience. You can learn more about optimizing your social media videos in our blog.
Videos in presentations:
Videos are awesome for bringing presentations to life. To include video in your PowerPoint or Google Slides you have two options.
1. Embed the whole video into your presentation - this is as simple as clicking upload video and dropping the file into a slide. You can also publish from VideoScribe straight to PowerPoint so adding whole videos to your presentations is even easier. This is great if you want to share more information with video or talk while your animation plays in the background.
2. Add sections of your video as GIFs - if you'd rather have auto-playing moving elements in your presentations then turning chunks of your video into GIFs is a great option. Simply trim your MP4 file down to quick sections then use a tool like ezgif to turn them into animated GIFs. Then just upload these files as images into your presentation as you would any other graphic. Then when in slideshow or presentation mode, the GIFs will automatically play in the background, giving your audience something visual to focus on while you talk.
Videos in emails:
While most email providers don't allow you to embed full videos in your emails, you can add a GIF. This gives you the option of providing a teaser of your video that plays automatically when the email is opened. You can then add a link to the GIF file so that when someone clicks on it they're taken to the full video.
Plus, creating your own GIFs from your video is easy. We love free tools like ezgif.com for this but you can find our full tips and tricks in this blog.
Videos in the classroom:
Of course, your videos also make fantastic lesson resources for online and in-person teaching. You can play them at the start of a lesson to introduce a new topic or set the stage for what students will be learning in that lesson. Or use animations to spark discussion and deeper thought by asking students to discuss what they've seen with peers. They also make brilliant revision resources as we've seen Ms Cole create.
Just make sure that your videos are accessible for all students. That could mean adding subtitles where you have voice-over, or slowing the pace of more complex information to ensure all students can easily follow along.
Repurposing your video for added value
Finally, once you've created your video for one platform or purpose, don't forget you can get extra value from your creation by repurposing it. By that we mean trimming it, editing it or expanding on it to give the animation a new spin.
Just think an explainer video for your business could be trimmed into sections highlighting the three main benefits your service provides. Those mini animations could then be used as assets for a social media advertising campaign or as part of dedicated blogs where you expand on how you solve your customers' problems.
The options are endless! But after investing the time and energy into creating your animation, it's key to get maximum value from it. For more ideas check out our dedicated webinar on video repurposing.

With that, you're ready to animate! Put your knowledge into practice by creating your own animated video. Just log into VideoScribe or start a free 7-day trial by clicking below (no credit card needed) 👇
.png "VideoScribe")


![How to create animation magic [3-part guide to video success]](https://blog.videoscribe.co/hubfs/How%20to%20create%20animation%20magic%20guide%20VideoScribe.png)
.jpg)

COMMENTS