
So you’ve been asked to present to your class. The first thoughts that run through your head are probably 1) How am I going to give an impressive presentation?! 2) Wow, I’m feeling those nerves creeping in already *cue the sweaty palms*.
The good news is, we can help with both of those things! By incorporating animation into your presentation, not only are you going to impress your audience, but the video can do a lot of the hard work of presenting for you.
Try these 10 simple tips to deliver a killer class presentation with video!
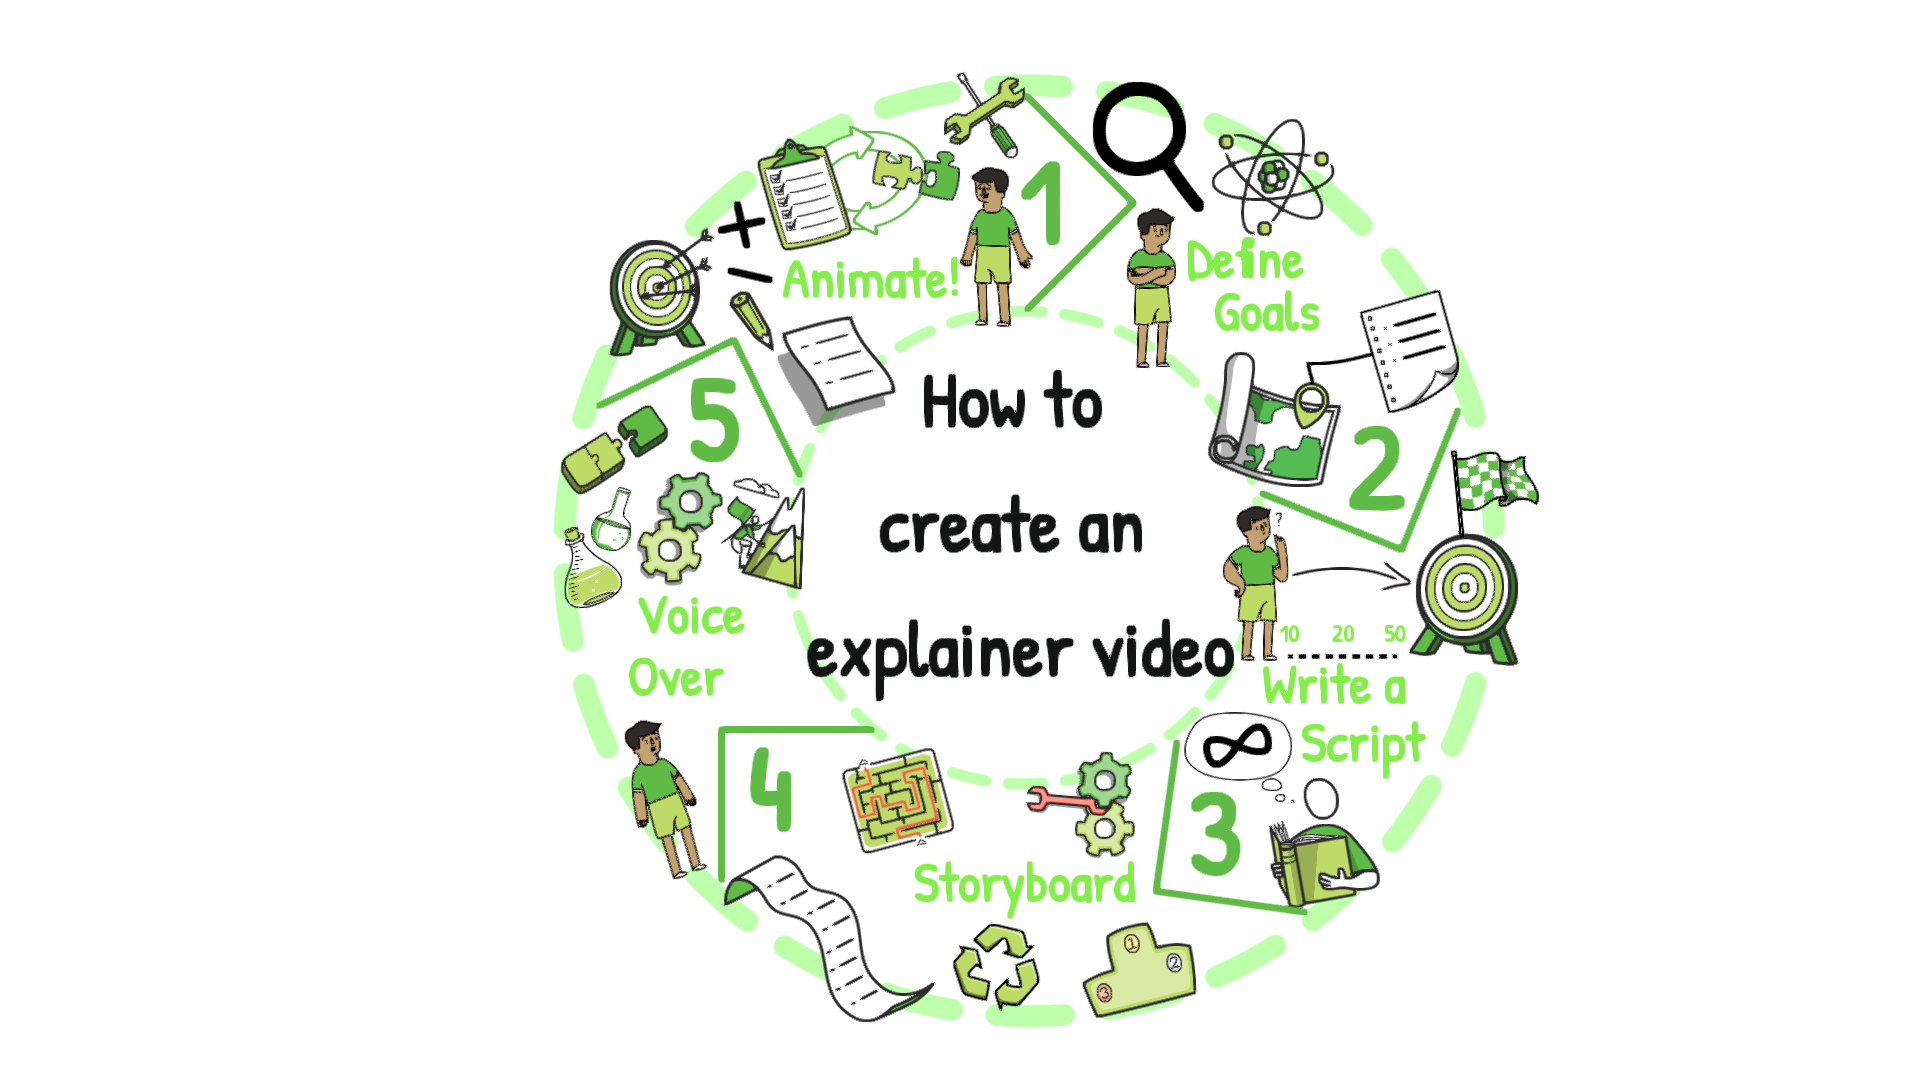
1. Plan for success by storyboarding your video
Delivering a stand out presentation starts with planning. This is the time to outline exactly what you want to say and crucially how you’ll approach presenting the information. This is so important because it’s your opportunity to do something a bit different by turning your points into a story.
Just think - which opener for a presentation on malaria is going to grab attention?
A) Malaria is a mosquito-borne infectious disease that causes symptoms including fever, tiredness, vomiting, and headaches. Despite it being curable, malaria still kills over 1 million people each year. How can this happen?
B) A child dies every 30 seconds from this one disease. During the course of my 10 minute presentation, 20 children will have already died. You know what the worst part is? This disease is not only curable, but preventable with just a piece of net that costs $2. So why is malaria still killing millions?
To effectively craft your story and ensure your audience are gripped from the start, consider what’s going to shock or intrigue them. Then use this as your hook to build the rest of your presentation on. Once you’ve planned this, use a storyboard to plot your talk and the visuals you’ll need to support your points.
This doesn’t have to take a long time and to make things even easier, you can find our storyboarding template here.
2. Use your video to keep to the perfect pace
Planning your video out in advance also helps to ensure that you’re sticking to the time limit. Whether it’s 2, 10 or 45 minutes, use your video to help you stay on time. You can create a video to play for the duration of your presentation so that you’ll naturally talk at the right pace, or even just for sections to stay on track.
With your video to guide you, time and pacing is one less thing you need to worry about!
3. Show off your personality
It's easy to slip into professional presenter mode when we're giving a talk in class. While there's nothing wrong with this, you're missing out on opportunities to show off your personality.
It's you that brings the talk to life so speak as you would naturally and consider how you let your audience see the real you. Your presentation will be much more engaging for it!
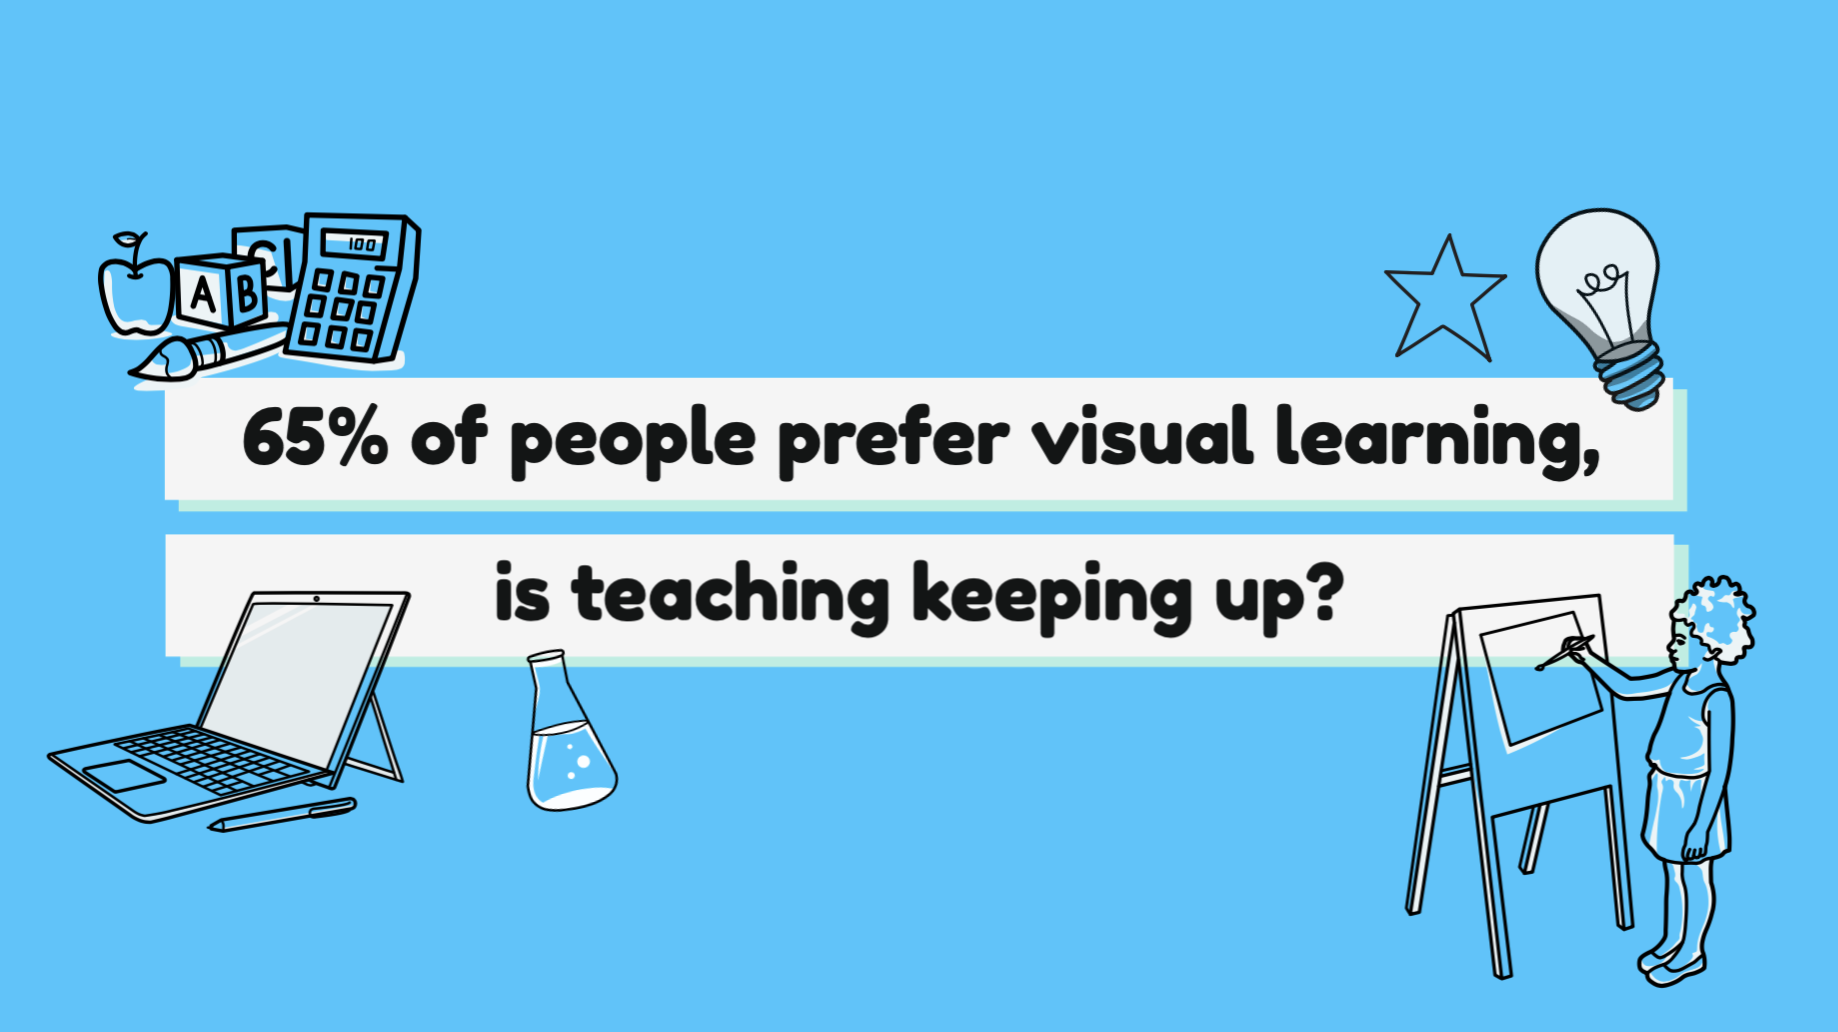
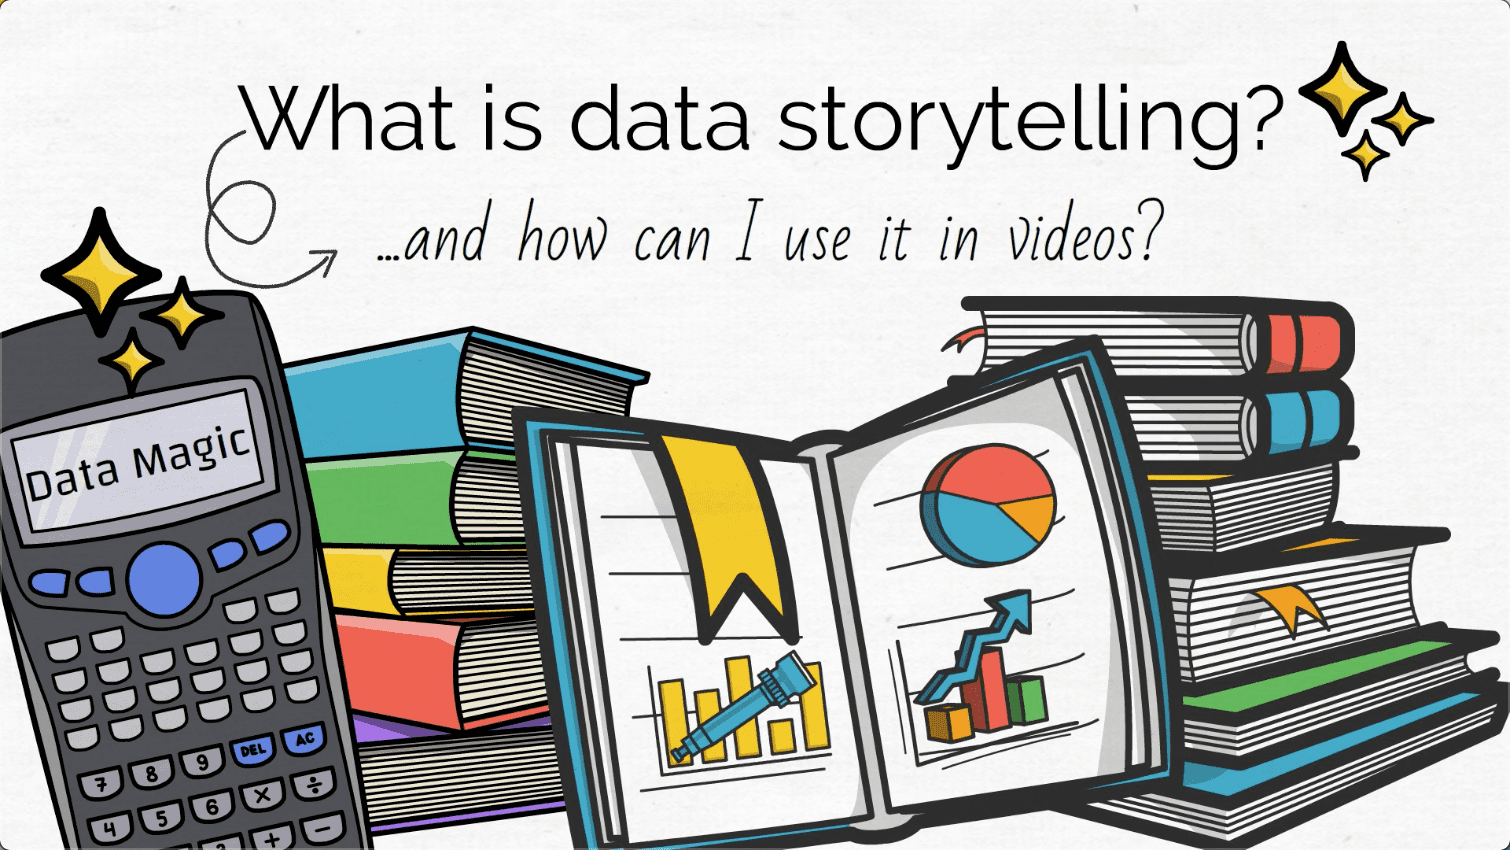
4. Use animated infographics and charts to present data
Will you include data in your presentation? If so, there's no reason they have to be static. Often numerical information is easier to understand if it's animated because instead of trying to interpret an entire chart, you can explain what the information means as it develops on the screen.
Think of this as holding your audience's hand as you walk them through the information. This example from student run TV news channel, Cronkite News is a perfect example. You can find our guide to making video infographics here.
5. Use visual metaphors to explain your topics in language your audience already understands
When you’re giving a presentation on a complex or intangible idea, helping your audience to understand with visual aids can be tricky.
That’s where visual metaphors come in. They’re interpretations of concepts and sayings like ‘financial forecasting’ and ‘money doesn’t grow on trees’. They work by pairing simple images that your audience will already recognize to create new meanings. This makes communicating your message a lot easier and faster.
…and the best part is the VideoScribe image library has a whole folder full of visual metaphors!
6. Use color and fonts to reinforce your message
Don't underestimate the power of color and font choice to do the heavy lifting of conveying your story. There's a lot of subliminal messaging associated with different colors and fonts that mean we can interpret them much faster.
You can see the impact of different fonts in our example below. Take your time to experiment and see what fonts and colors work for your presentation.
7. Use animation for surprise, delight or humor!
Lots of people don't realise how easy it is to create professional-looking animations. This means that animation techniques that'll take you minutes to create can look really impressive.
From morphing one image into another to creating a stop-motion effect, you can have fun and get really creative with how your presentation develops. It's this consistent movement and surprise that helps ensure your audience stay focused on you and your topic.
Learn how to achieve 4 easy animation techniques like we have in our quick guide.
8. Take the pressure off with a pre-recorded voice-over
The beauty of video is that you can also add pre-recorded audio! Which means that if you're not feeling super confident about talking on the day you can record voice-overs for certain sections. Particularly parts that you know are tricky to explain.
Take some of the pressure off by recording your talk for those areas in advance. Then all you have to do is hit play! Learn our tips for recording a polished voice-over here.
9. End with a summary of your key points
You’re probably familiar with the rule of three. It’s the idea that for your audience to fully absorb your key message they have to hear it at least three times. This could be once in your introduction, once in the body of your presentation, and then again in your closing statements.
But you don’t want to close with any old ending. How you end your presentation will largely determine how your audience feels about your whole talk. Seize this opportunity to dazzle them one last time. One way to do this is by bringing your whole presentation together into a final scene. Just like this example from Hampshire County Council. The key message of their video is how different strategies can support bilingual students across the county. What we don’t realise until the end of the video is that the graphics all build up to make a map of Hampshire which is not only super impressive but reinforces their message.
Learn how to create this effect here.
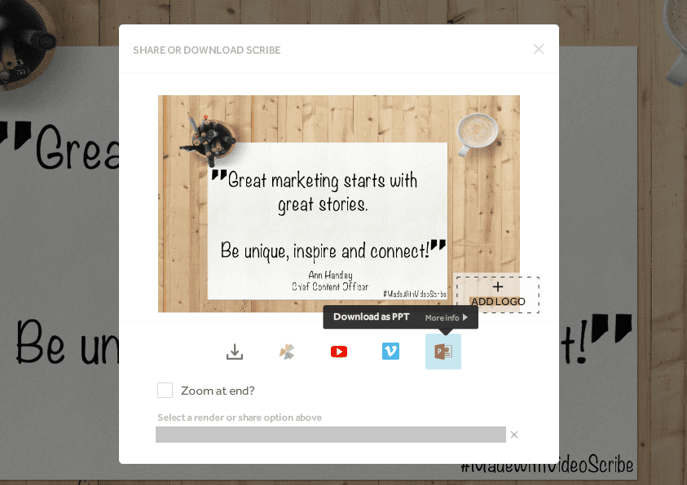
10. Prepare for the worst - a presentation space with no Wi-Fi!
Last but by no means least, ensure that your presentation is poor/no Wi-Fi proof! Few things will spoil your presentation more than a video or animation that won’t load. So ensure you’re not a Wi-Fi victim by publishing your VideoScribe video into a PowerPoint presentation. Your video will then appear on one slide with its own player ready to go, regardless of Wi-Fi quality.
Secondly, you could also render your video to a .MOV or .mp4 file so that it’s always ready to play wherever you are.
With that, you’re ready to deliver the presentation of your life! To start building your own VideoScribe video presentation, start a FREE 7-day trial today
.png "VideoScribe")


![How to create animation magic [3-part guide to video success]](https://blog.videoscribe.co/hubfs/How%20to%20create%20animation%20magic%20guide%20VideoScribe.png)

.jpg)


COMMENTS