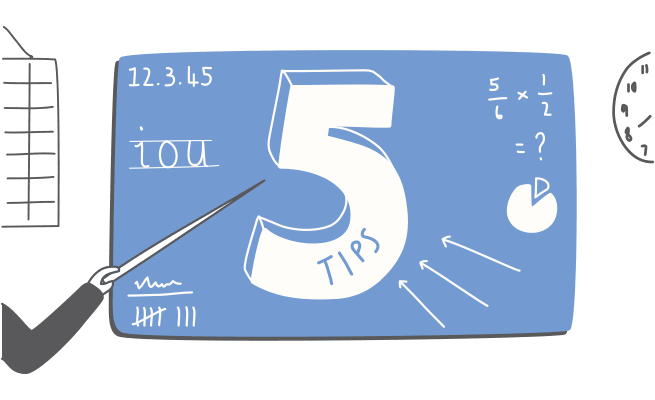
 Videoscribe is a big hit in the classroom. For teachers, it is a tool for communicating in their students' language. It is also proven to get the lesson across more effectively, by combining audio and video in a multimedia presentation. It's not hard to start making an educational scribe. But how can you make a big impact from your very first video?
Plan your scribes
Planned scribes are the best. Scribes that have a clear message the whole way through, with clear direction, are much more engaging and easy to remember. VideoScribe works in the classroom because scribes can be made with clear lesson objectives in mind. It is helpful to identify the final message that you want your students to take away after watching a scribe video. Storyboarding and lesson planning are similar. Planning scribes that your student will love is not much extra work at all.
Choose simple, fun images
Visual metaphors are a great way of helping people to remember a message, so the images you use in your scribes are important. Try to think of fun, engaging ways to illustrate your message that students will enjoy. The more they enjoy it the more they will remember. The best images to use in VideoScribe are scalable vector graphics (SVGs) as the pen can easily track their lines. You can use PNGs and JPGs too, although they don't draw as well. Instead of having the hand draw these images, you could use the 'move in' feature. A hand will move the complete image onto the canvas instead of drawing it. www.svgstudio.com is an online shop with thousands of simple SVG images ready to use in your scribes. You can create visual metaphors by buying packs of images based on concepts, such as 'focus', 'technology' and 'build'.
Keep it brief
When it comes to scribing, the shorter the better. Messages are remembered and information retained more effectively from shorter videos or talks. When there is too much information to take in, retention is lower because there is simply too much to remember at once. Scribing allows you to communicate complex messages easily by combining audio and visuals together. You can communicate lesson objectives in less time, keeping students interested throughout the whole message. Try creating a few 5-10 minute scribes as opposed to one hour long video. You can communicate the same amount of information this way and messages can be refined and communicated more succinctly, meaning greater retention and understanding.
Combine images with audio
Research has shown that students learn better from audio and images combined. Add a voiceover to your scribes to communicate your message strongly. Audio and visuals work together to make students more likely to remember what they are viewing. The principle also applies to music. Soundtracks are a great way to enhance your message. They work with images to help people retain more information.
Encourage rewatching
Scribing allows students to pause, rewind and replay information so they can take notes or think about what they are watching. If you share your scribe video with your students, you give them access to the information at home as well as at school. Students can go back and re-watch scribe videos when it comes to revising for exams. All videos can be saved and shared with students whenever they need them. More tips for making powerful scribes If you found these tips helpful – please share with your friends!


.png)



![How to create animation magic [3-part guide to video success]](https://blog.videoscribe.co/hubfs/How%20to%20create%20animation%20magic%20guide%20VideoScribe.png)



COMMENTS