
VideoScribe is packed with tools to help you make animated videos that’ll impress your audiences!
However, when you’re excited to get creative and start making your animations, it’s easy to miss extra features that can give you a helping hand.
That’s why in today’s blog we’re giving you a rundown of the top 10 VideoScribe tools that’ll ensure your next video is easier and faster to create, and your finished video is polished and professional-looking.
1. Right click to preview an image
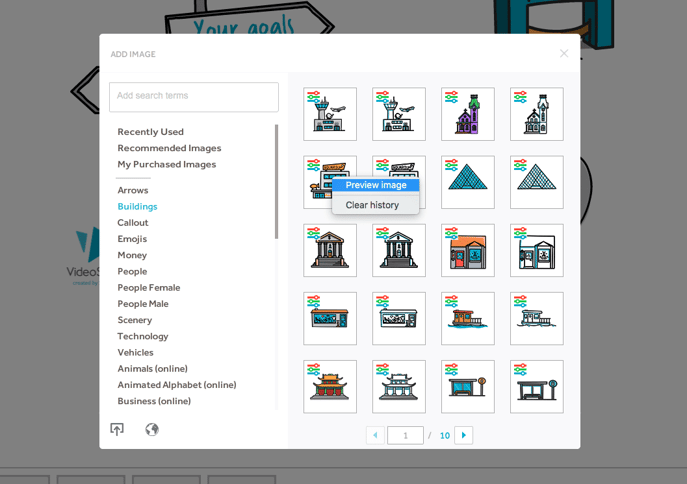
First things first, have you ever scrolled through our image library and wanted to see how a graphic would draw before you add it to your canvas? This deceptively simple feature is your time-saving best friend.
When deciding what images will work best for your video, just right click on the image and select the ‘Preview Image’ option to see how it’ll come to life. You can see this in action below.
2. Customize our images by changing their colors
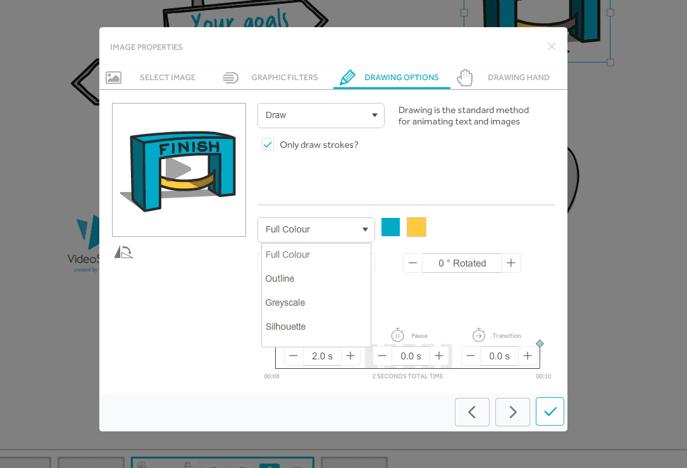
While we’re on the topic of images, don’t forget that what you see doesn’t have to be what you get. You can customize the colors of our library images to suit your topic or brand. This is a great option for boosting brand recognition!
To edit the colors in our images, double click on the image you want to change. Make sure you’re on the ‘Drawing Options’ tab and then select the ‘Full Color’ option in the drop-down list. From here, click the colored boxes to edit the colors of different elements of the image. You can see this below.
3. Upload your own images from a URL or file
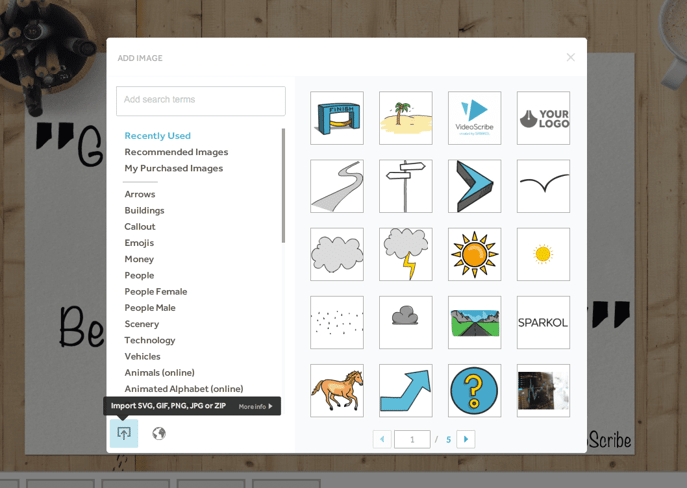
To take your customization one step further, why not upload your own images and graphics? If you have ready-made assets, logos, photos or images that you’d love get more value from by using them in a video, follow these steps.
Click the ‘Add New Image’ button in the bottom right-hand corner and then use the buttons in the corner of this tab to upload an image from a file or from a URL. Just like that your video potential became unlimited!
4. Use guidelines to get the perfect finish
To make sure all your striking images and text elements are aligned and precisely where you want them, use our guidelines. Watch this quick tutorial to learn how.
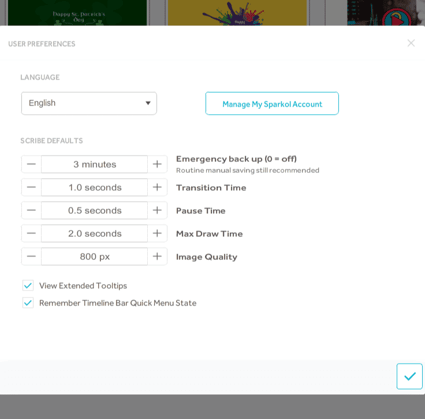
5. Edit your default scribe timings
If you find that you only ever want the elements in your video to take two seconds to animate, why not change your default timings?
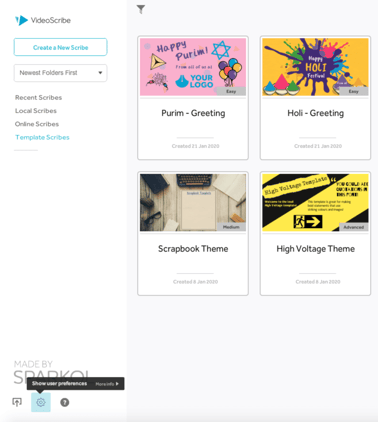
Save time editing your video timeline by setting your VideoScribe timing preferences. This can be done in under a minute and if you ever want to change it you can by following the same process.
Simply head to your VideoScribe login screen and click the cog icon in the bottom left-hand corner. From here you can edit the different timing options. You can see this below.
6. Export your video straight to PowerPoint
If you’re making a video to be part of an important presentation, save time by publishing your video straight to PowerPoint.
Your video will be embedded in one slide with a player for ease of use. Then all you have to do is add the rest of your slides around it. Now your video is guaranteed to play properly, even without Wi-Fi!
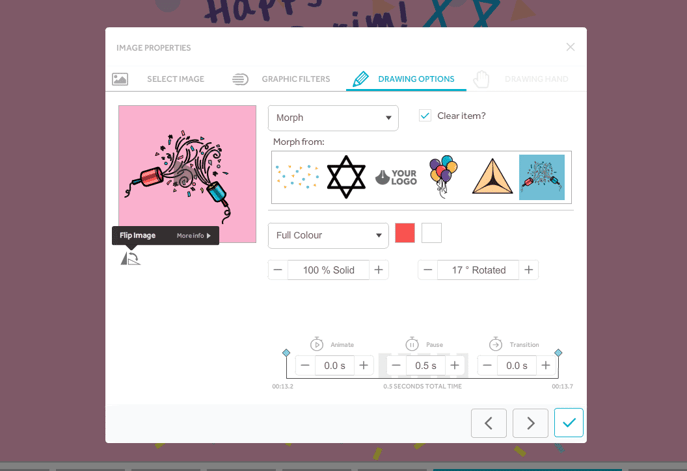
7. Flip an image
To make your image fit perfectly with your scene, you might need to flip it. The good news is that this is really easy to do in VideoScribe. Just double click on the image you want to edit and then use the flip icon under the preview to flip it into the right position. You can see this below.
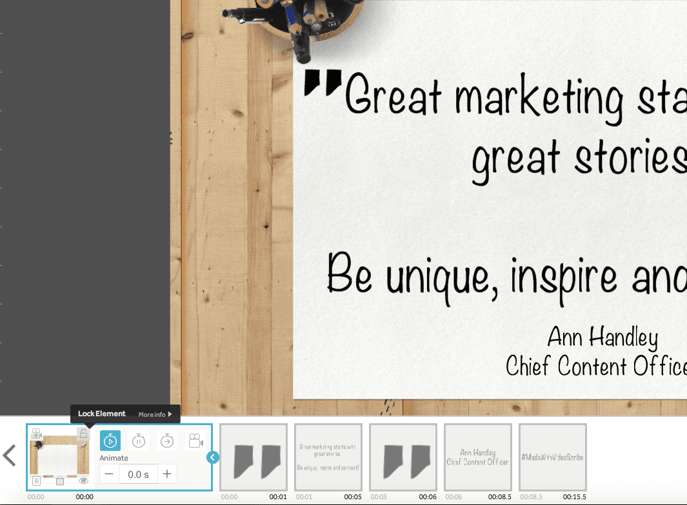
8. Lock background elements
So you’ve created a background by layering different images and now you want to add extra text and elements on top. You don’t want to worry about accidentally moving your perfect background in the process!
Use the lock tool to fix your background in place while you work on top of it. Just click on the background elements in the timeline and click the little lock icon. If you want to move these elements again later, simply unlock them again.
9. Change the drawing hand or upload your own!
Having your video drawn by a pencil, chunky marker or fountain pen can drastically change the look and feel of your video. Switch out the hand that draws your videos to suit your topic and the style of your animation. We have loads to choose from, just pick your favorite from our library by clicking the hand icon in the top right-hand corner.
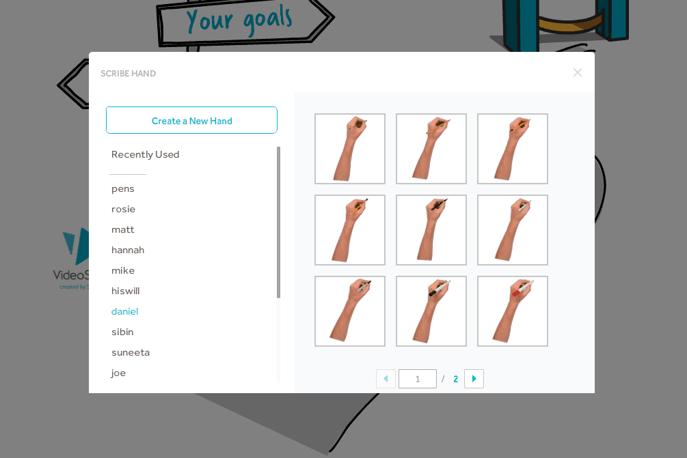
If you’re looking for extra personalization, you can even upload your own hand! Just click here to learn how in 3 steps.
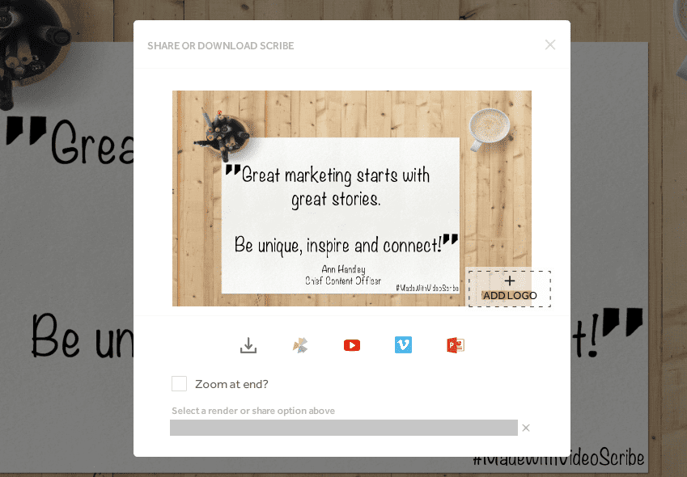
10. Add your own logo
For the final touch, did you know you can add your logo to the bottom right-hand corner of each video. Not only will this help with brand recognition but it also gives your video a professional edge. You have this option when you click the publishing icon in the top right-hand corner. You can see this below.
What features will you try in your next video? Comment and let us know! For more help and advice on using VideoScribe, head to our extensive free support area here.
If you’re new to VideoScribe and want to try these features for yourself then start a free 7-day trial today!
.png "VideoScribe")


![How to create animation magic [3-part guide to video success]](https://blog.videoscribe.co/hubfs/How%20to%20create%20animation%20magic%20guide%20VideoScribe.png)

.jpg)


COMMENTS