There are thousands of free images in the VideoScribe library. Rather make your own? Here's how to create SVGs in Adobe Illustrator that draw perfectly in VideoScribe.
These instructions are for creating basic, smooth line drawings in Adobe Illustrator that draw well in VideoScribe. They don’t cover any of the advanced things that you could potentially do with SVG images.
1) Create a reference image
Draw a sketch of what you would like your image to look like. Take a photo and upload it or scan it into your computer. Or, find an image online of something similar to what you want.
Save this reference image.
2) Open the image in Illustrator
Open your reference image as layer 1 of a new file in Adobe Illustrator. Then:
- Go to the appearance panel
- Set layer 1 to 40% opacity
- Lock layer 1
This will help when you start tracing over it.
3) Create a new layer to trace onto
Create a new layer, layer 2. Then, from the toolbar on the left:
- Set the colour fill of layer 2 to none
- Choose any colour you like for the stroke, and any weight
Now, in the top toolbar:
- Set the stroke to uniform
- Choose the pen
4) Trace over your reference image
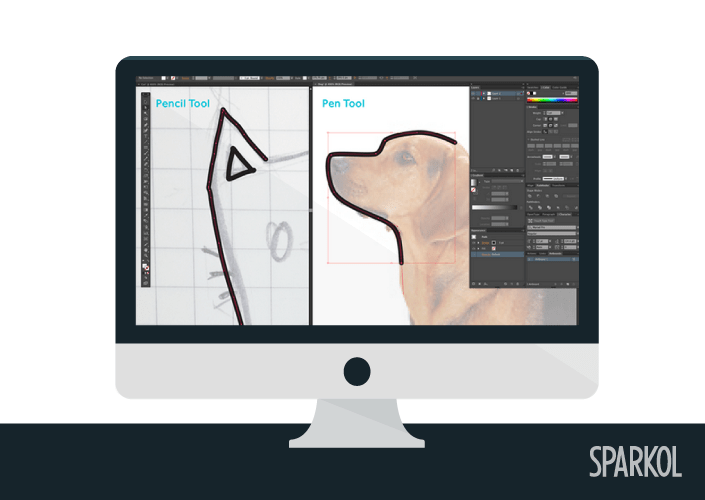
The pen tool will give you lines that look smooth and simple. Start tracing over the lines of your reference image onto layer 2.
Draw your lines in the order that you would like VideoScribe to draw them for you.
The pen tool works by creating a series of reference points as you draw. VideoScribe sees your reference points as the dots of a dot-to-dot picture. It draws the full image by connecting the 'dots' in the order you made them.
5) Delete your reference image
When you've completed your image, you no longer need your reference image (layer 1) – delete it now.
6) Save your SVG image
Your image must be saved in a certain way for it to draw well within VideoScribe.
When you're happy with your image:
- Click File
- Select Save as
- Choose SVG (svg) from the menu
This will open up another dialogue box:
- Select Embed under Options > Image Location
- Select Presentation Attributes under Advanced Options > CSS Properties
- Leave all other options unchecked
It's really important that CSS Properties is set to Presentation Attributes. A 2015 Illustrator update by Adobe means that your image won't draw properly in VideoScribe without this setting.
And that's it folks. Follow these steps and your SVG images should draw beautifully in VideoScribe every time.
Still unsure?
Download an example SVG file and use its settings as a guide for your own images.
Adding colour?
If you want to add colour to your image, go back to the end of step 4 and:
- Lock layer 2
- Create a new layer - layer 3 - for the fill colour
- Arrange your layers so that layer 3 sits directly below layer 2
- Choose the blob brush tool
- Set the stroke to none and the fill to the colour you want to use
- Start applying colour
When you've added all your colour, follow the instructions at step 6 for saving your file.
That's it. In a future post, we'll look at how to make SVGs for VideoScribe in Inkscape.


.png)


![How to create animation magic [3-part guide to video success]](https://blog.videoscribe.co/hubfs/How%20to%20create%20animation%20magic%20guide%20VideoScribe.png)


COMMENTS